Use this test to ensure that an installed CIC Agent, and the Access Point and Endpoint associated with the CIC Agent, are all functioning correctly. This article describes how to set up the test, run it, and verify that it ran successfully.
Test Requirements
This test requires the following resources:
File System Endpoint: This is the File System Endpoint (connected to your backend system, for example, ERP, TMS, or WMS system) you want to test to ensure that other endpoints can connect to it and that it can both receive data from and send data to other endpoints.
Access Point: This is the Access Point that enables CIC to access your File System Endpoint.
Test Endpoint: This is the Test Endpoint you use to test sending data to and receiving data from the File System Endpoint. The Test Endpoint serves as the side of the Data Flow opposite the File System Endpoint. This can be whatever type of endpoint that is most convenient for you. For instance, it could be a Partner Mailbox endpoint or an SFTP endpoint. This example uses a Partner Mailbox endpoint.
Test Data Flows: You need to create two data flows.
Data Flow 1 to send data from the Test Endpoint to the File System Endpoint
Data Flow 2 to send data from the File System Endpoint to the Test Endpoint
Set Up the Tests
Create Access Point: Create the Access Point and install your CIC Agent. For more details on creating your Access Point and installing your CIC Agent, please see Managing Access Points.
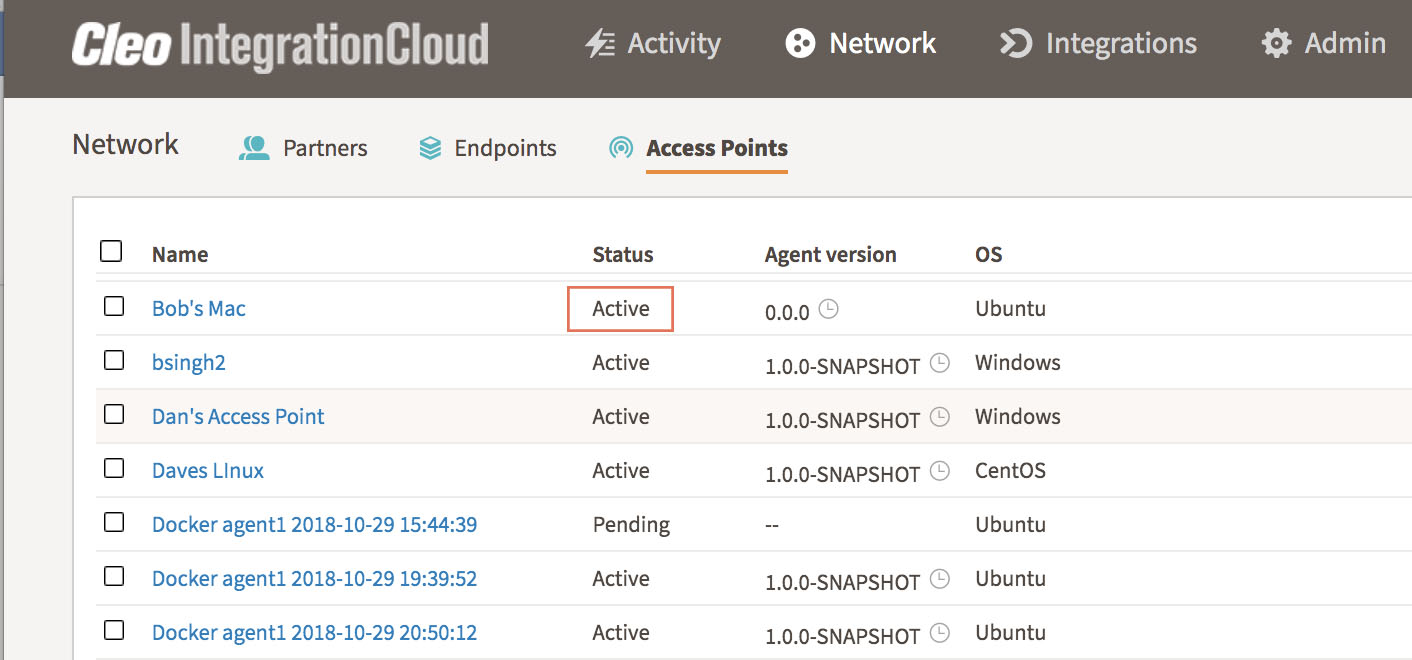
Verify Access Point: Your Access Point should have a status of "Active".
To check Access Point's status, go to Network > Access Points.
Figure 1: Access Point Status check
The following table describes Access Point statuses.
Access Point status
Description
Active
Access Point is running as expected and verification is successful.
Pending
Indicates the CIC Agent software is not yet active on the server where it was installed. If you created the Access Point recently (in the last 5-10 minutes), the activation process might not yet be complete. If it has been longer than that, contact Cleo Support.
Not Responding
The Access Point is not responding to messages sent by the CIC Cockpit. Check the following:
Network connections are up and running
The machine where the CIC Agent is installed is running and the CIC Agent service is running.
Down
The Access Point has been unresponsive for more than three minutes and is considered down. Check the following:
Network connections are up and running
The machine where the CIC Agent is installed is running and the CIC Agent service is running
Updating
CIC is in the process of updating the CIC Agent software. Wait for the update to complete. There is nothing further to check.
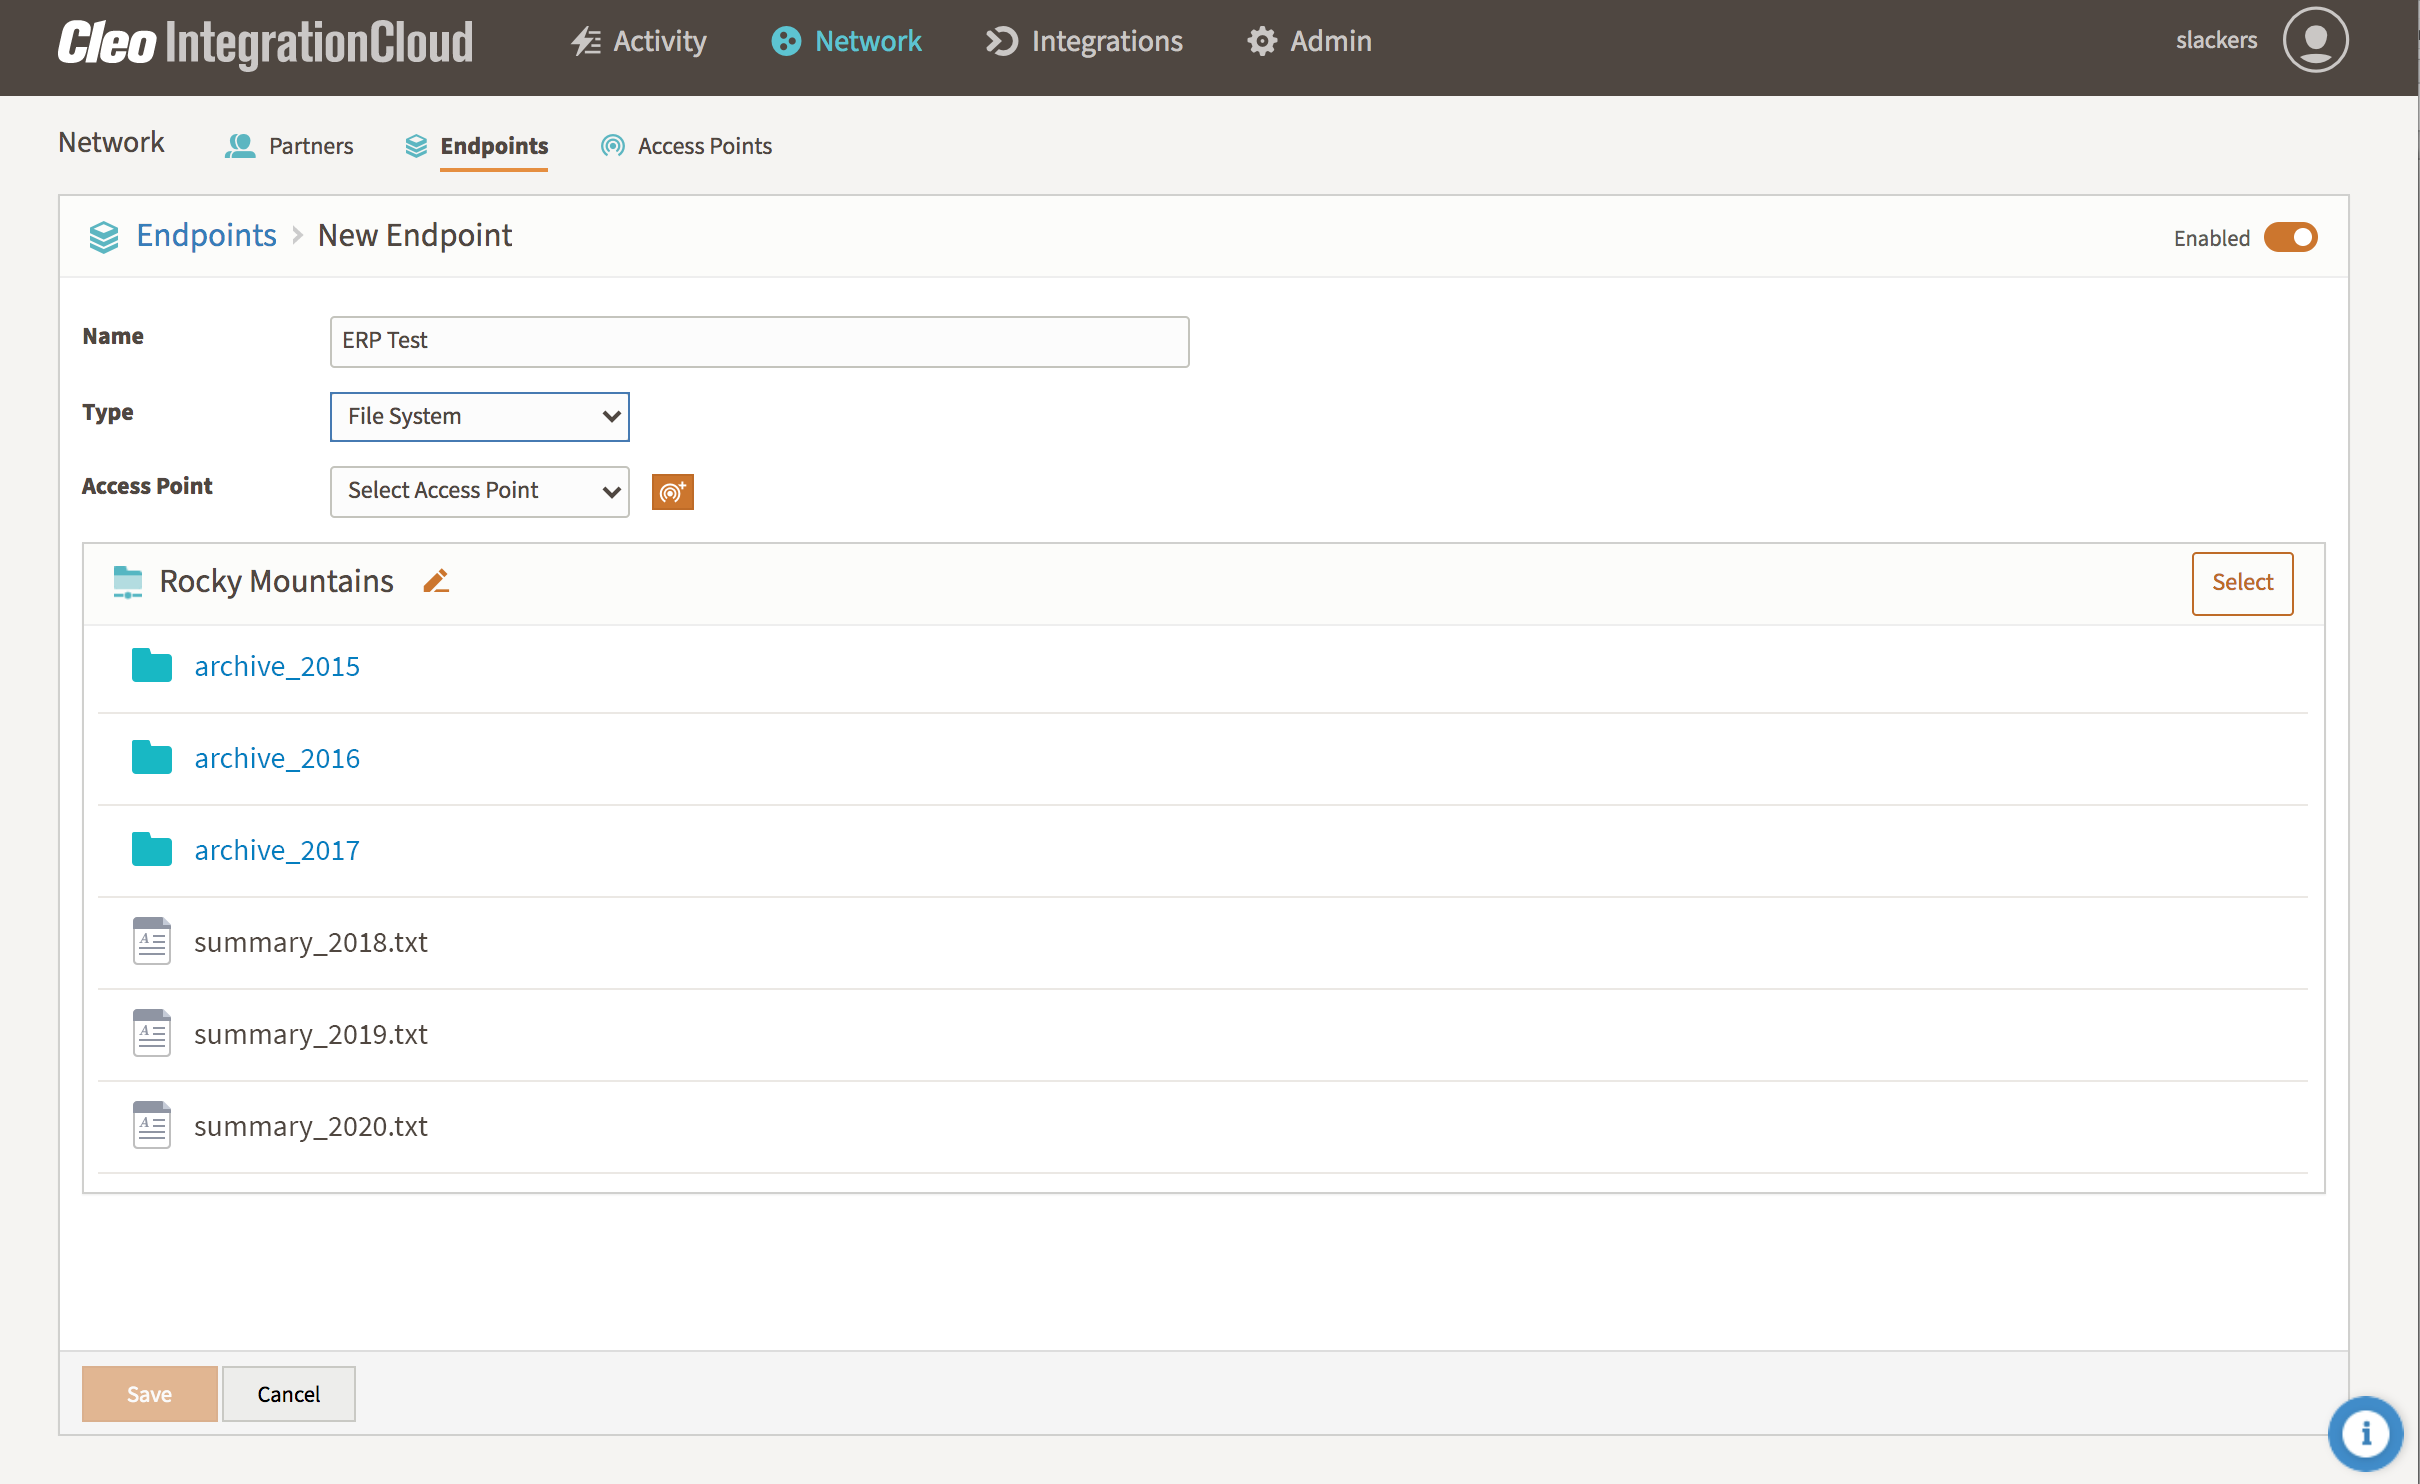
Create File System Endpoint: Create a File System Endpoint that references the Access Point you just created. For more details on creating this Endpoint, please see Managing Endpoints and File System endpoint.
Alternative Verification of Access Point: While creating your Endpoint, you can also verify that your CIC Agent and Access Point are working properly. Once you select your Access Point, you should be able to browse the endpoint's file system as shown in the figure below. This will only work if the CIC Agent is active and CIC can connect to the Endpoint (via the Access Point). Figure 2: Creating Endpoint with valid Access Point
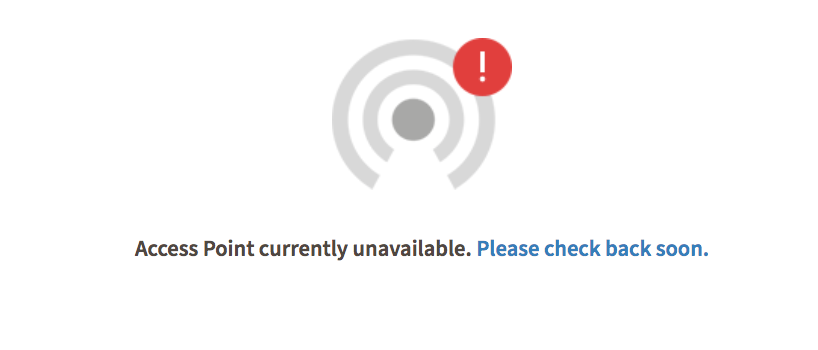
If the Access Point is not active and healthy, you see a message like this instead of folders on your file system.
If you see this, go to the Network > Access Point screen and follow the guidance in Step 2 above to troubleshoot your Access Point issues.
Create Test Endpoint: Create a Partner Mailbox endpoint to act your Test Endpoint. For details on creating the Partner Mailbox, see Partner Mailbox endpoint
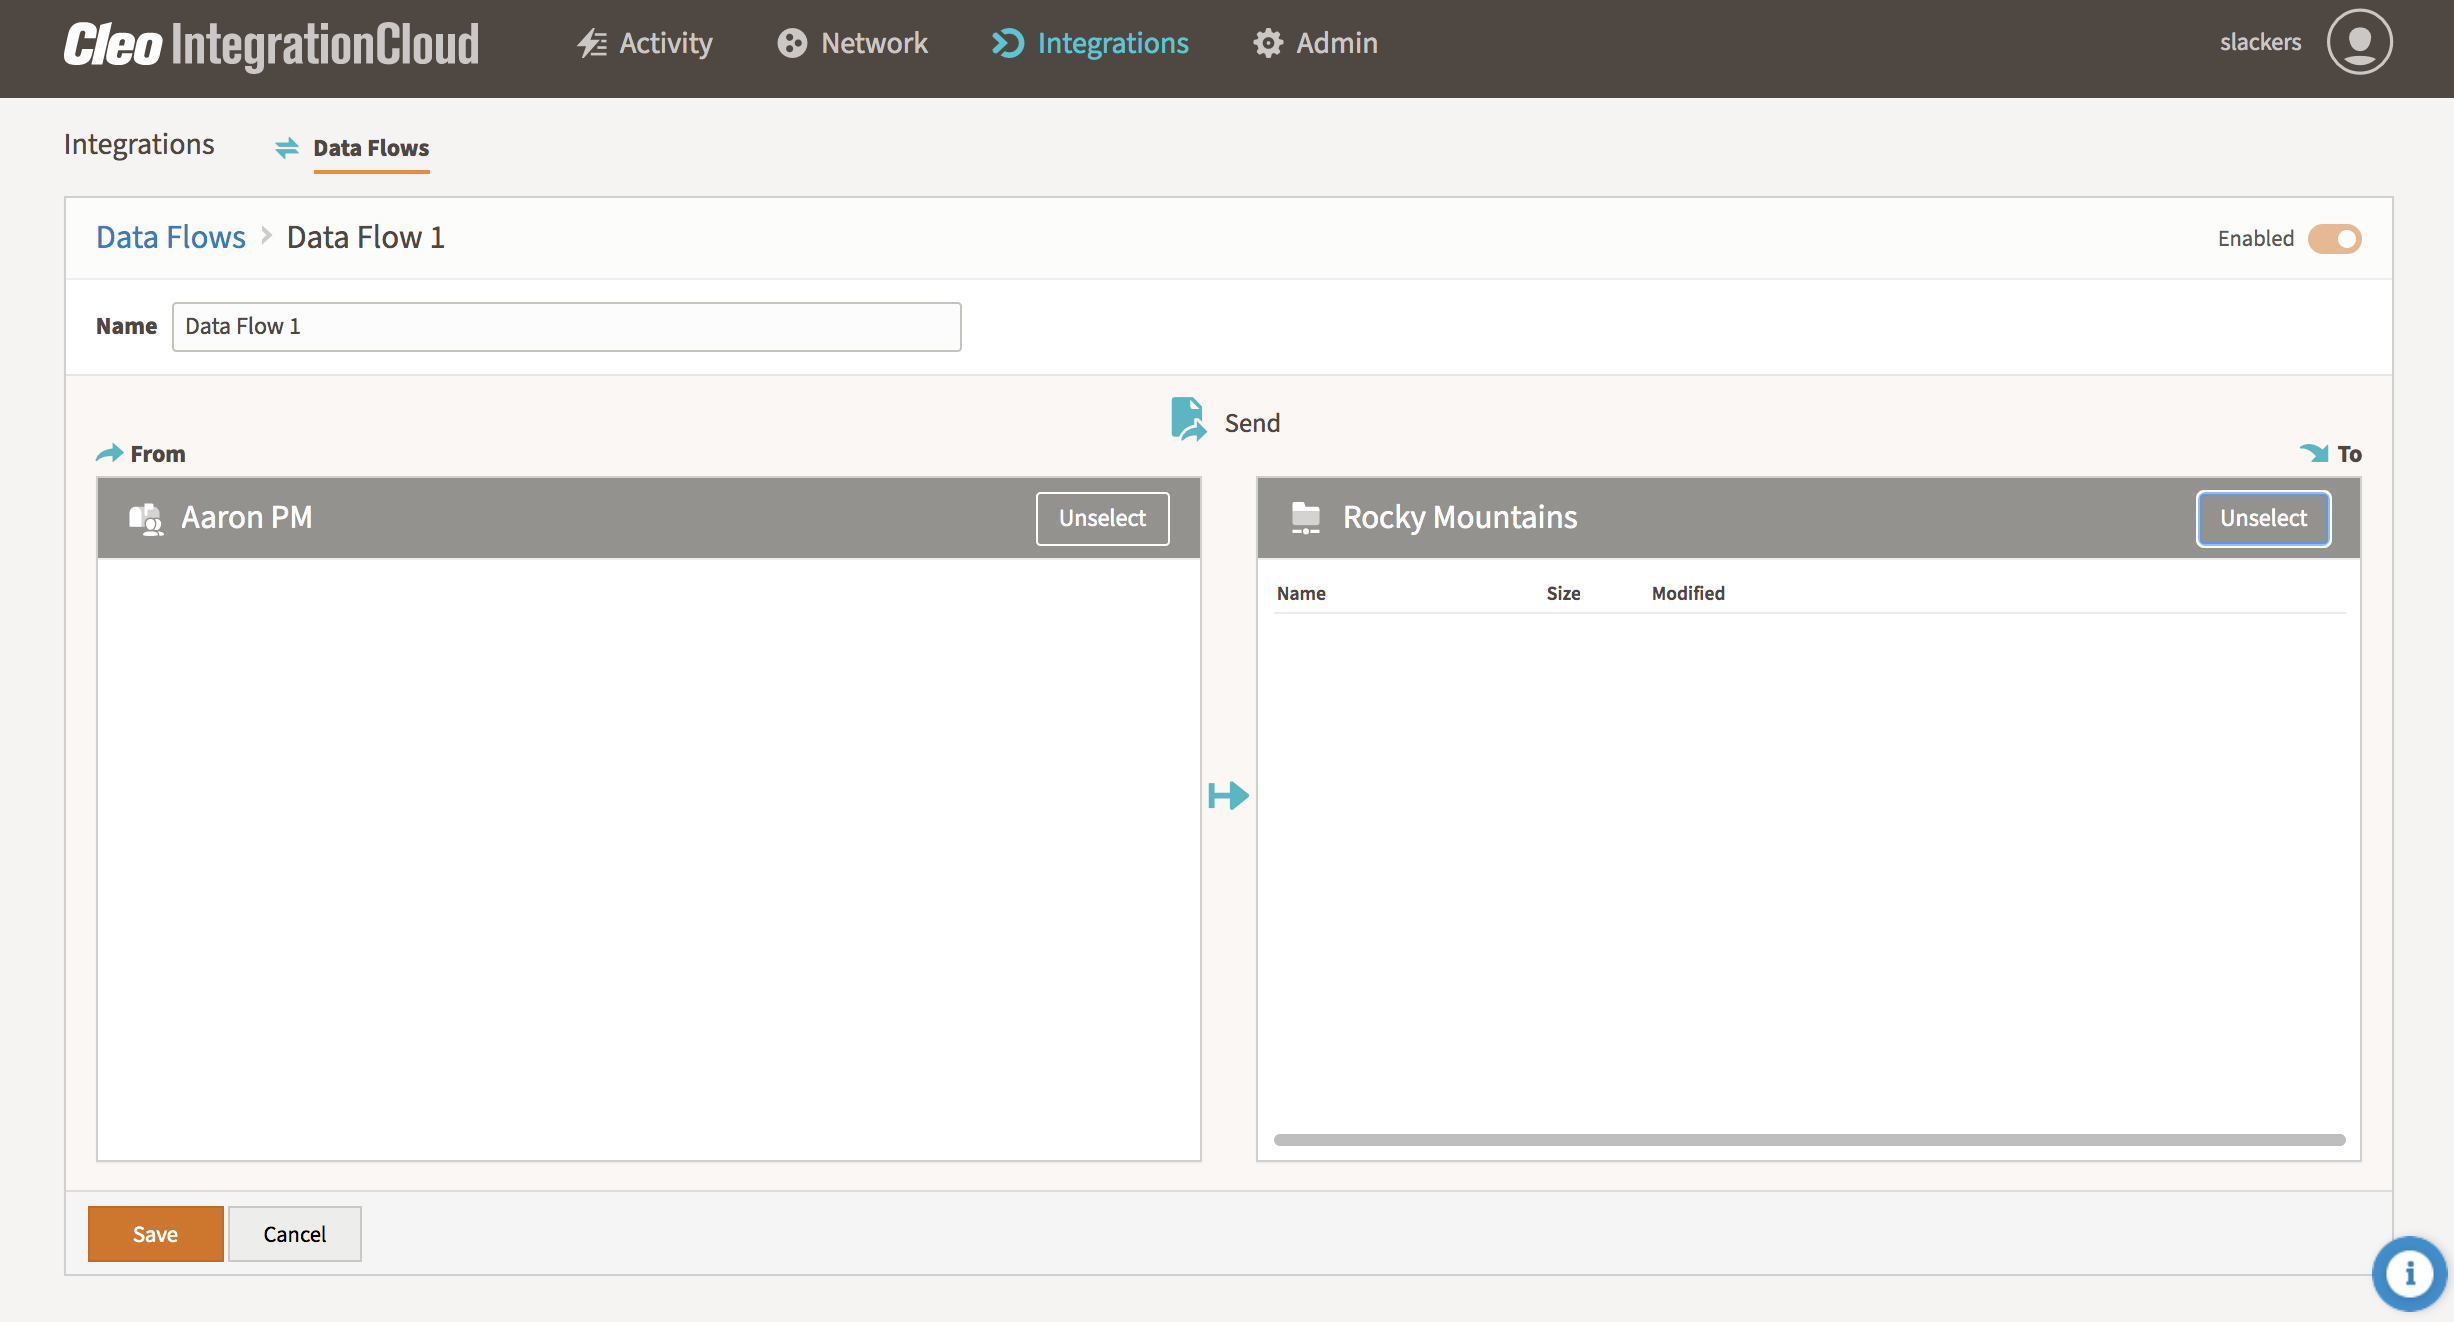
Create Data Flow 1: Create Data Flow 1 from your Test Endpoint (Partner Mailbox) to your File System Endpoint. For details on how to create Data Flows, see Managing Data Flows.
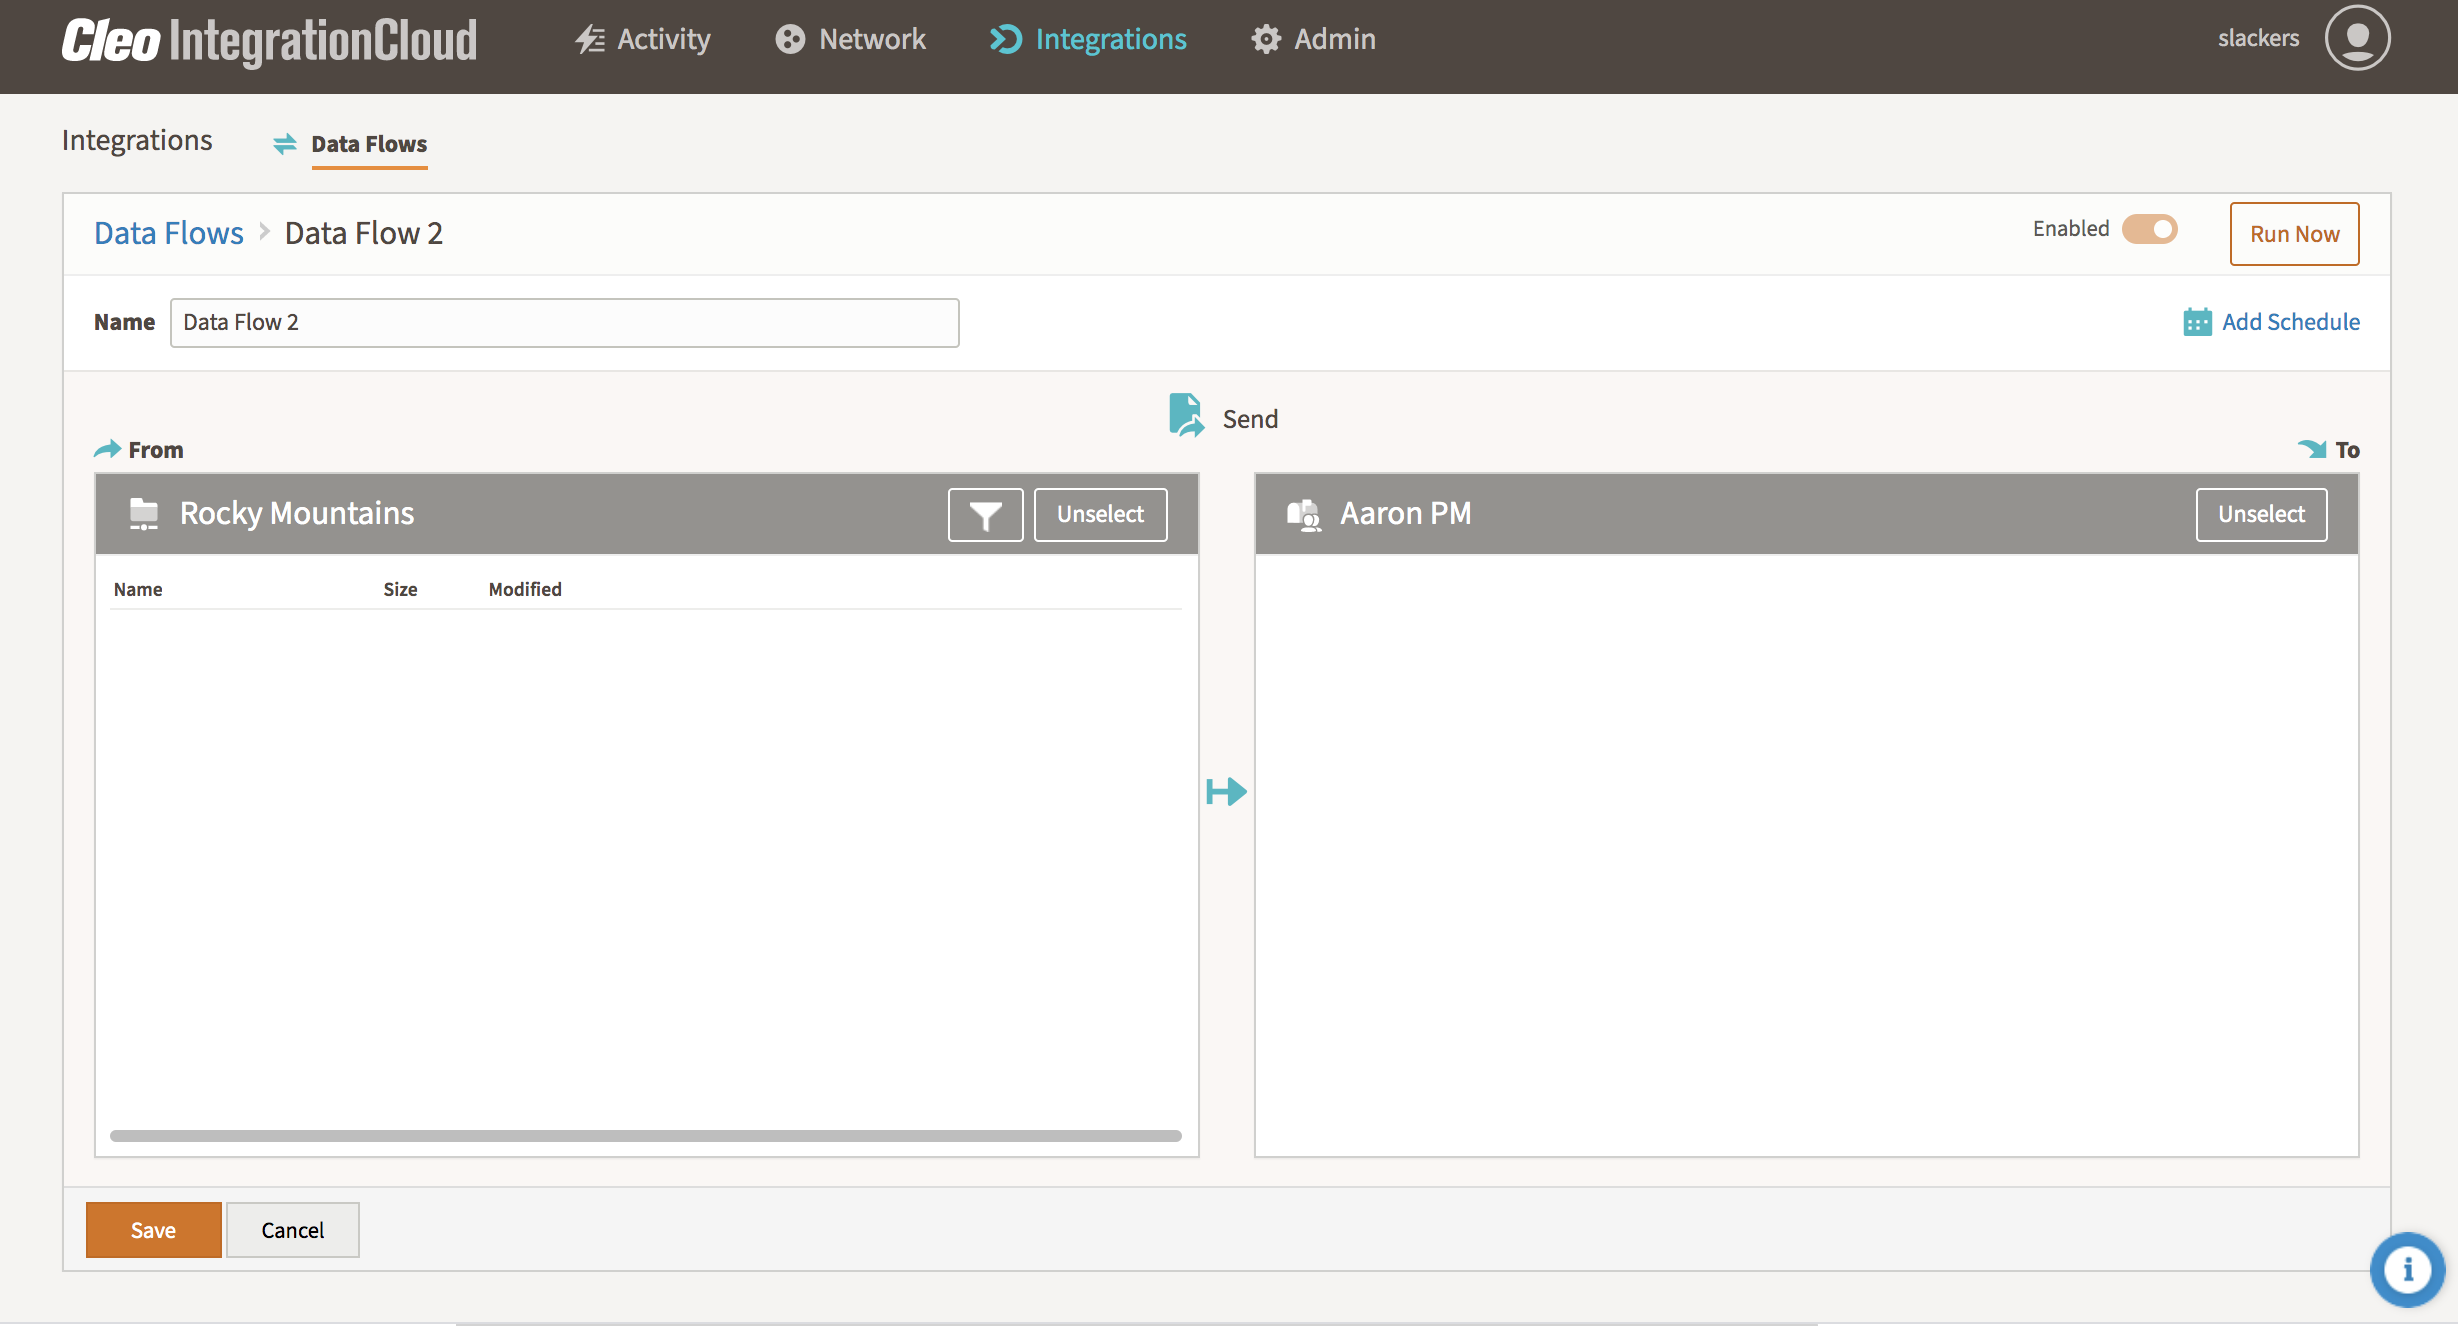
Create Data Flow 2: Create Data Flow 2 from your File System Endpoint to your Test Endpoint (Partner Mailbox).
Run the Tests
Test 1 - Receive Data: To test that your File System Endpoint can RECEIVE data.
Navigate to your Partner Mailbox. For details on how to access your Partner Mailbox, see Connecting to Partner Mailbox.
Upload one or more test files to the Upload folder of your Partner Mailbox. This automatically triggers Data Flow 1 and transfers the file from the Partner Mailbox to the File System Endpoint.
Test 2 - Send Data: To test that your File System Endpoint can SEND data.
Login to the server represented by your File System Endpoint (where your CIC Agent is installed). Navigate to the folder configured as the From (Source) endpoint for Data Flow 2.
Upload one or more test files to the folder.
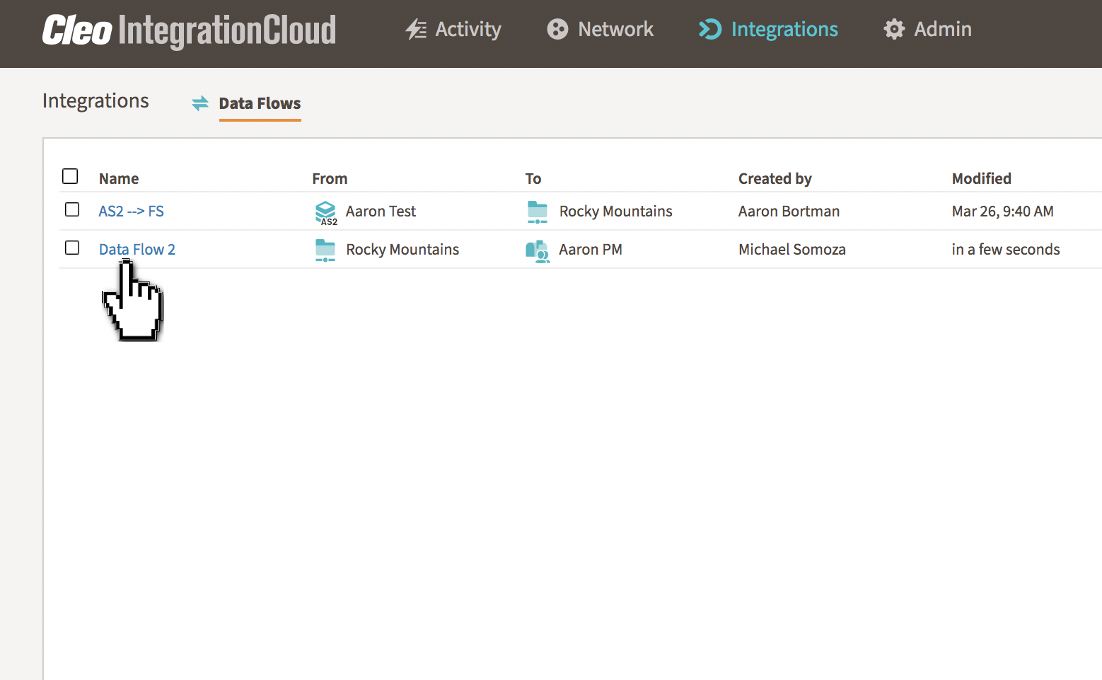
Go to Integrations > Data Flows and find Data Flow 2 (or whatever you named it) in the list of Data Flows and click it.
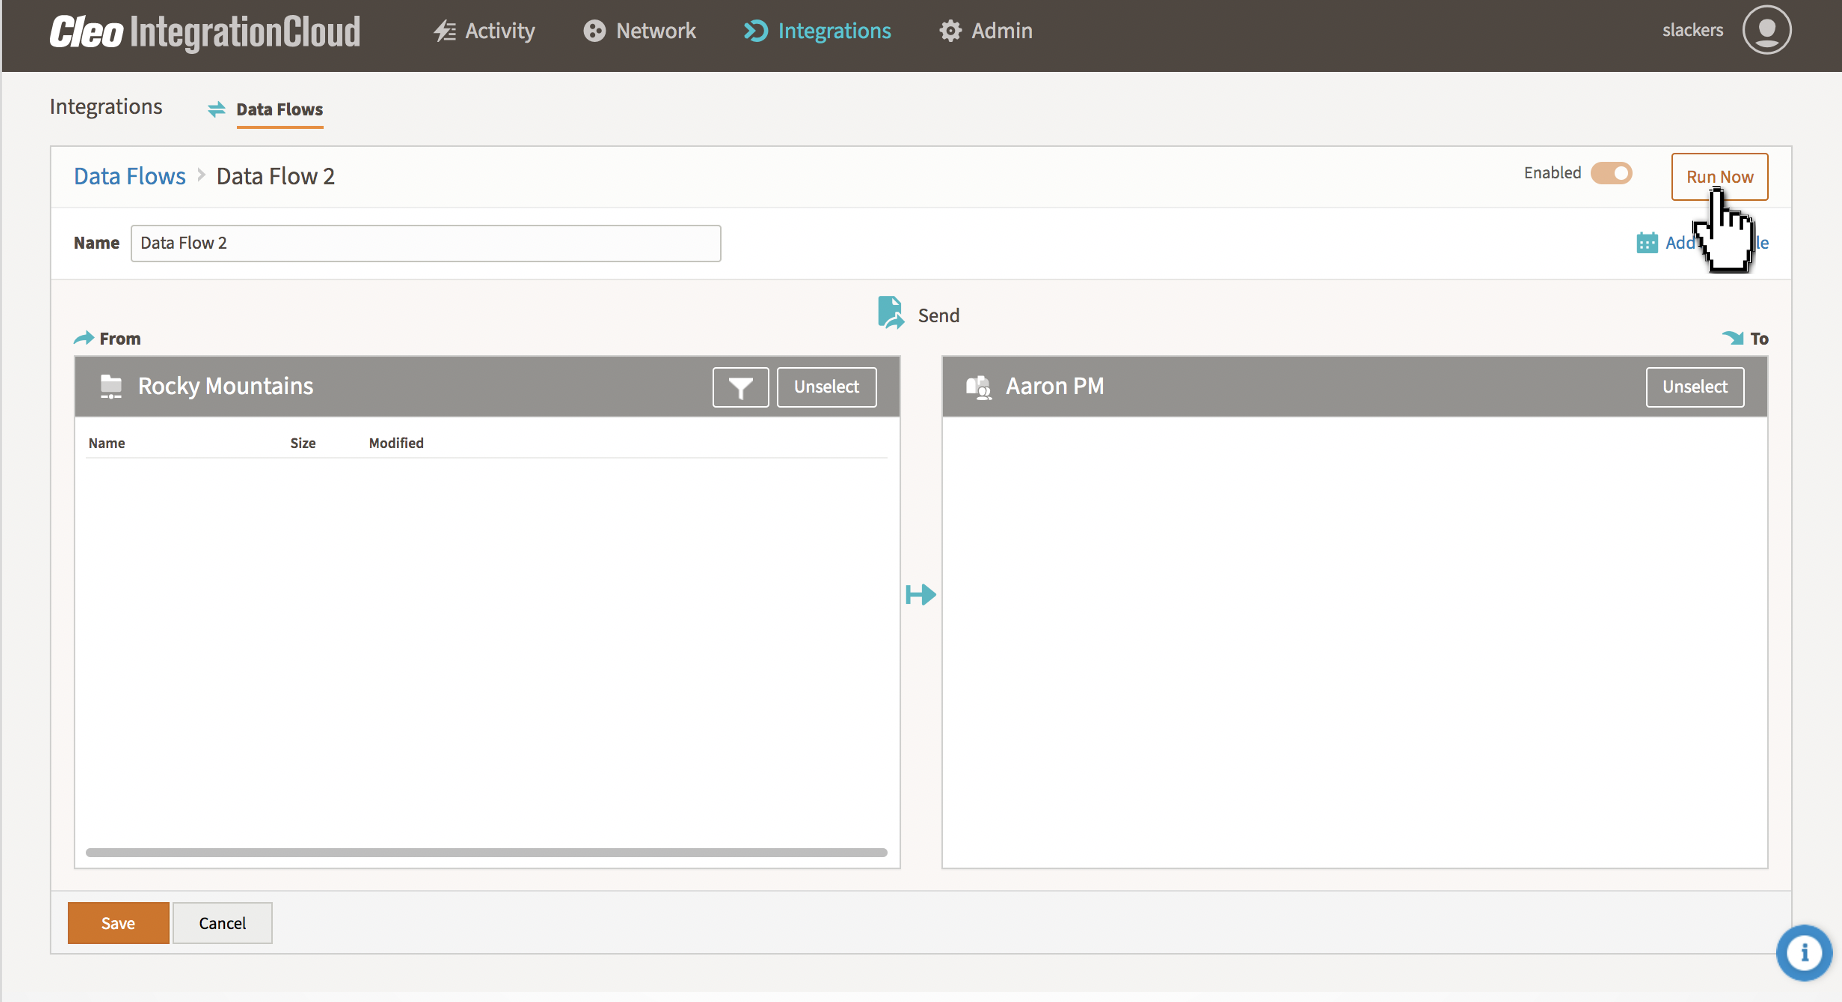
Click Run Now in the upper right corner to run Data Flow 2 (as shown below).
Verify the Results
Verify Test 1 - Receive Data: To verify that your File System endpoint can receive data, check the following:
File received at destination: Go to the computer specified in the File System Endpoint, navigate to the folder indicated as the destination in Data Flow 1, and verify that the files you expect to receive are there.
File removed at source: Go to your Partner Mailbox and ensure that the file is gone. If all is working properly, the file is transferred when the upload completes.
Job successful: Running a Data Flow creates a Job that contains the details of the Data Flow's run. To view Job information:
Navigate to Activity > Jobs to display a list of Jobs recently run.
Find the relevant Job by looking for the Partner Mailbox Endpoint and File System Endpoint in the From and To columns, respectively.
Click the Job to view its information. The Job should be successful. Navigate to the Logs tab to see details of the Data Flow's run.
Verify Test 2 - Send Data: To verify that your FIle system endpoint can send data, check the following:
File received at destination: Log into the Partner Mailbox, navigate to the Download folder, and see if the test file is there.
File removed at source: Go to the computer specified in the File System Endpoint, navigate to the folder indicated as the source in Data Flow 2, and verify that the test file is no longer there.
Job successful: Running a Data Flow creates a Job that contains the details of the Data Flow's run. To view Job information:
Navigate to Activity > Jobs to display a list of Jobs recently run.
Find the relevant Job by looking for the File System Endpoint and Partner Mailbox Endpoint in the From and To columns, respectively.
Click the Job to view its information. The Job should be successful. Navigate to the Logs tab to see details of the Data Flow's run.
Common Issues:
Here are some of the common issues that can occur during this test.
Comments
0 comments
Please sign in to leave a comment.